

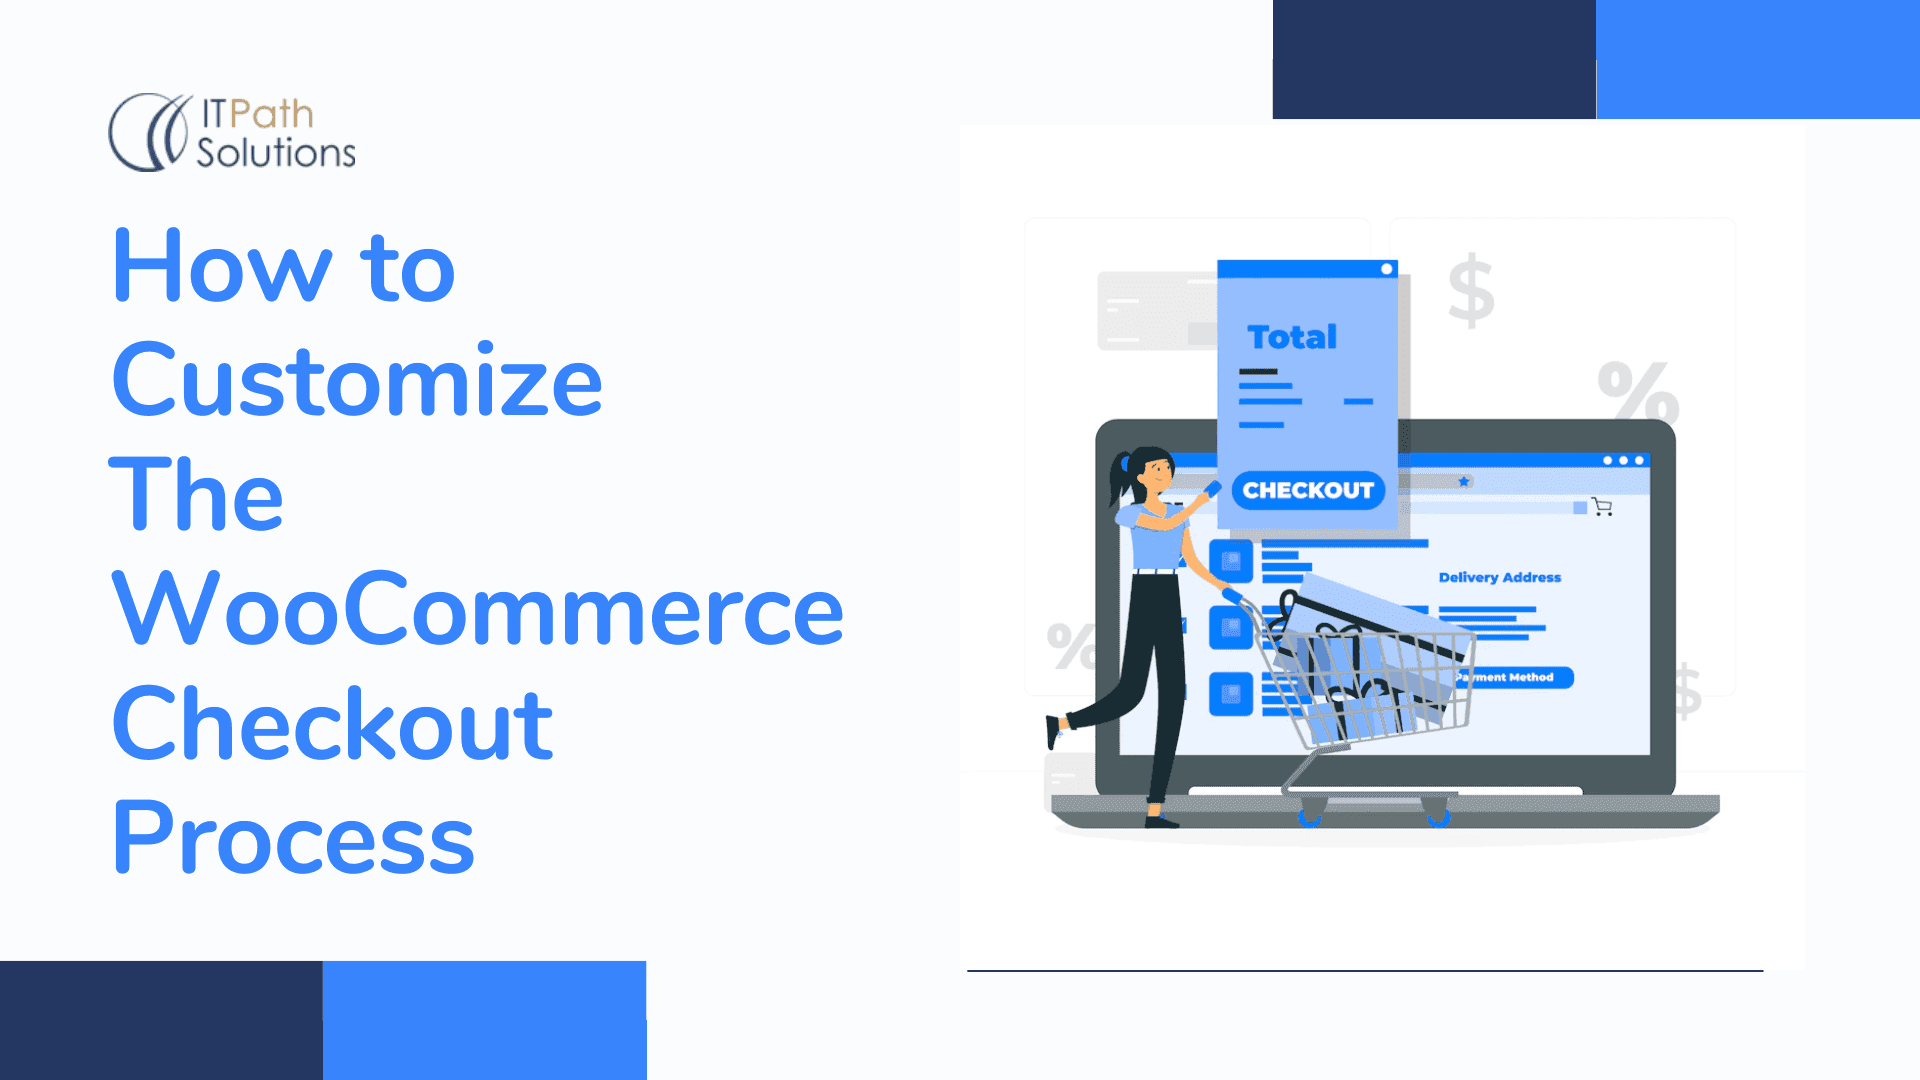
How To Customize The WooCommerce Checkout Process
Keyur Patel
September 12, 2025
10 min
Last Modified:
October 13, 2025
Introduction
WooCommerce is an open-source e-commerce plugin for WordPress. It enables users to create, manage, and sell products online. Customizing the checkout process can be beneficial for businesses as it allows them to tailor the checkout experience to their specific needs and preferences. For example, adding custom fields can help businesses collect additional information from customers, such as their company name or a specific product preference. Reordering fields can help improve the overall user experience by making it easier for customers to find and fill in the information they need.
- Some examples of customization options for the WooCommerce checkout process include:
- Adding custom fields to the checkout form, such as a company name or product preference.
- Reordering fields on the checkout page to improve the user experience.
- Customizing the checkout process by adding new steps or conditional logic.
- Adding custom validation or processing logic for checkout data on the server side.
- Customizing the design and layout of the checkout page to match the overall look and feel of the website.
Please note that the above examples are not the only options, and you can customize the checkout process in many different ways, depending on your specific needs and requirements and with the help of expert WordPress developers.
Understanding the WooCommerce Checkout Process
- The default checkout process in WooCommerce is as follows:
- The customer adds products to their cart and proceeds to the checkout page.
- On the checkout page, the customer is prompted to enter their billing and shipping information, as well as any additional information required by the store owner (e.g. phone number, email, etc.).
- The customer then selects a payment method (e.g. credit card, PayPal, etc.).
- The customer reviews the order summary and confirms the order.
- After the order is confirmed, the customer is redirected to the “Thank You” page, where they can view the order details and receive an email confirmation of the order.
- The key elements of the WooCommerce checkout process are:
- The cart: This is where the customer can review the products they have added to their cart and update the quantity or remove items as needed.
- Billing and shipping information: The customer is required to enter their billing and shipping information on the checkout page. This information is used to calculate the total cost of the order, including shipping and taxes.
- Payment: The customer can select their preferred payment method on the checkout page. WooCommerce supports a variety of payment gateways, including credit card, PayPal, and bank transfer.
- Order review: Before placing the order, the customer reviews the order summary to ensure that all the information is correct and the products and quantity are correct.
- These are the main elements of the WooCommerce checkout process, but the store owner can add custom fields and make changes to the process as per the requirement.
Please note that the above explanation is a general overview of the default checkout process in WooCommerce, and it may vary depending on specific settings, customization, and plugins that the store owner has installed.
Customizing the WooCommerce Checkout Page
There are several methods for customizing the WooCommerce checkout page:
- Using a plugin:
- There are several plugins available that allow you to customize the WooCommerce checkout page without the need to write any code. Some popular options include:
- Checkout Field Editor for WooCommerce
- WooCommerce Checkout Manager
- Checkout Manager for WooCommerce
- These plugins provide an easy to use interface for adding, editing, and reordering fields on the checkout page. They also allow you to add custom validation and processing logic for checkout data.
- To use these plugins, you will need to install and activate them on your WordPress site. After that, you can access the plugin settings from the WooCommerce menu in the WordPress admin. From there, you can customize the checkout page according to your needs.
- There are several plugins available that allow you to customize the WooCommerce checkout page without the need to write any code. Some popular options include:
- Editing theme files:
- If you are comfortable with editing HTML, CSS, and PHP, you can customize the checkout page by editing the theme files.
- To customize the checkout page this way, you will need to access the WooCommerce template files that control the checkout page. These files are located in the ‘woocommerce’ folder within the theme directory.
- The main template file for the checkout page is called ‘checkout.php’, but you may also need to edit other template files such as ‘form-billing.php’ and ‘form-shipping.php’
- Once you have made the changes, you will need to upload the files to your server and test the changes.
- Custom code:
- If you are comfortable with writing code, you can also customize the checkout page by writing custom code.
- This can be done by creating a custom plugin or using the woocommerce_checkout_fields filter to add custom fields to the checkout page.
- You can also use the woocommerce_checkout_fields action to change the order of fields on the checkout page, or use the woocommerce_checkout_process action to add custom validation or processing logic for checkout data.
- Once you have written the code, you will need to upload it to your server and test the changes.
Please note that the above methods for customizing the WooCommerce checkout page are not mutually exclusive, and you can use a combination of them depending on your specific needs and requirements.
The above is a general overview of the methods that can be used to customize the checkout page, and the implementation of these methods may vary based on the specific theme and plugins used in the store. It is always better to check the plugin documentation, theme documentation or consult with a developer if you are not comfortable with the above methods.
Adding custom validation or processing logic for checkout data on the server side.
- Adding custom fields to the checkout form can be useful for businesses as it allows them to collect additional information from customers that may be necessary for fulfilling orders, such as a customer’s company name, or a specific product preference.
- There are several ways to add custom fields to the checkout form:
- Using a plugin: There are several plugins available that allow you to add custom fields to the checkout form without the need to write any code. Some popular options include:
- Checkout Field Editor for WooCommerce
- WooCommerce Checkout Manager
- Checkout Manager for WooCommerce
- Custom Code: You can also add custom fields to the checkout form by writing custom code. This can be done by creating a custom plugin or using the ‘woocommerce_checkout_fields’ filter.
- Using a plugin: There are several plugins available that allow you to add custom fields to the checkout form without the need to write any code. Some popular options include:
- Here is an example of how to add a custom field to the checkout form using the ‘woocommerce_checkout_fields’ filter:
function custom_override_checkout_fields( $fields ) {

$fields['billing']['billing_custom_field'] = array(

'type' => 'text',

'label' => __('Custom Field', 'woocommerce'),

'placeholder' => _x('Enter your custom field', 'placeholder', 'woocommerce'),

'required' => true,

'class' => array('form-row-wide'),

'clear' => true

);

return $fields;

}

add_filter('woocommerce_checkout_fields', 'custom_override_checkout_fields');
- Once you have added the custom field, you will need to validate and process the data on the server side. This can be done by using the ‘woocommerce_checkout_process’ action. Here is an example of how to validate a custom field on the checkout form:
function custom_checkout_field_process() {

if ( ! $_POST['billing_custom_field'] )

wc_add_notice( __( 'Please enter the value for the custom field' ), 'error' );

}

add_action( 'woocommerce_checkout_process', 'custom_checkout_field_process' );
You can also use the ‘woocommerce_checkout_update_order_meta’ action to process the data when the order is placed.
Also, the validation and processing of custom fields may vary based on the data type and the requirement of the field. It is always better to consult with a developer if you are not comfortable with the above methods.
Reordering Checkout Fields
- Reordering fields on the checkout page can help improve the overall user experience by making it easier for customers to find and fill in the information they need.
- There are several ways to change the order of fields on the checkout page:
- Using a plugin:
- There are several plugins available that allow you to reorder fields on the checkout page without the need to write any code. Some popular options include:
- Checkout Field Editor for WooCommerce
- WooCommerce Checkout Manager
- Checkout Manager for WooCommerce
- These plugins provide an easy to use interface for reordering fields on the checkout page.
- There are several plugins available that allow you to reorder fields on the checkout page without the need to write any code. Some popular options include:
- Custom Code:
- You can also reorder fields on the checkout page by writing custom code. This can be done by creating a custom plugin or using the ‘woocommerce_checkout_fields’ filter.
- Here is an example of how to reorder the ‘billing_phone’ field in the billing section to come after the ‘billing_email’ field:
function custom_reorder_checkout_fields( $fields ) {

$fields['billing']['billing_phone']['priority'] = 21;

return $fields;

}

add_filter( 'woocommerce_checkout_fields', 'custom_reorder_checkout_fields' );
- To move a field from one section to another you can use the same filter, but this time you will have to copy the field from one section to another and remove it from the original section. Here is an example of how to move the ‘billing_phone’ field from the billing section to the shipping section:
function custom_move_checkout_fields( $fields ) {

$fields['shipping']['billing_phone'] = $fields['billing']['billing_phone'];

unset($fields['billing']['billing_phone']);

return $fields;

}

add_filter( 'woocommerce_checkout_fields', 'custom_move_checkout_fields' );
Customizing the design and layout of the checkout page to match the overall look and feel of the website
- Customizing the checkout process can include adding new steps, conditional logic, and more. It allows the store owner to tailor the checkout experience to their specific needs and preferences.
- There are several ways to customize the checkout process:
- Using a plugin:
- There are several plugins available that allow you to customize the checkout process without the need to write any code. Some popular options include:
- Checkout for WooCommerce
- Checkout Field Editor for WooCommerce
- WooCommerce Checkout Manager
- These plugins provide an easy to use interface for customizing the checkout process.
- There are several plugins available that allow you to customize the checkout process without the need to write any code. Some popular options include:
- Custom Code:
- You can also customize the checkout process by writing custom code. This can be done by creating a custom plugin or using actions and filters provided by WooCommerce.
- Here is an example of how to add a new step to the checkout process using the ‘woocommerce_checkout_process’ action:
function custom_add_checkout_step() {

// code to add a new step to the checkout process

}

add_action( 'woocommerce_checkout_process', 'custom_add_checkout_step' );
– To add conditional logic to the checkout process, you can use the ‘woocommerce_checkout_process’ action and the ‘woocommerce_checkout_update_order_meta’ action.
– Here is an example of how to add conditional logic to the checkout process:
function custom_checkout_conditional_logic() {

if ( ! $_POST['billing_custom_field'] ) {

wc_add_notice( __( 'Please enter the value for the custom field' ), 'error' );

}

if ( ! $_POST['shipping_custom_field'] ) {

wc_add_notice( __( 'Please enter the value for the shipping custom field' ), 'error' );

}

}

add_action( 'woocommerce_checkout_process', 'custom_checkout_conditional_logic' );
- Once you have made the changes, you will need to validate and process the data on the server side, which can be done by using the ‘woocommerce_checkout_update_order_meta’ action.
Please note that the above examples of code snippet are just examples, and you will need to modify the code according to your specific requirements. Also, the above method is just one way of customizing the checkout process, you can also use other methods like using a plugin or editing theme files. It is always better to consult with a developer if you are not comfortable with the above methods.
Conclusion
The process of customizing the WooCommerce checkout requires a detailed and careful approach with a balance of both business and technical points. There are multiple methods to go about it as we have shown in this blog and to take this further and actually implement it, do contact our WordPress experts below.

Keyur Patel
Co-Founder
Keyur Patel is the director at IT Path Solutions, where he helps businesses develop scalable applications. With his extensive experience and visionary approach, he leads the team to create futuristic solutions. Keyur Patel has exceptional leadership skills and technical expertise in Node.js, .Net, React.js, AI/ML, and PHP frameworks. His dedication to driving digital transformation makes him an invaluable asset to the company.
Related Blog Posts

B2B eCommerce Development Strategies To Drive Sales Growth In 2025

Is MyShopify Legit? Pros, Cons & How to Spot Scams (Full Guide)