Healthcare
  Education
  Real Estate
  Logistic
  Themes
 Plugins
 Patterns
Mastering Third-Party Plugin Integration in Flutter for Enhanced App Functionality

Good day, Flutter enthusiasts! As you embark on your journey to build amazing apps with Flutter, you’ll soon discover the incredible power of third-party plugins. These handy packages provide a wealth of functionality that can elevate your app to new heights, and in this blog post, we’ll explore the ins and outs of integrating them seamlessly into your Flutter app. By the end of this article, you’ll be well-equipped to harness the full potential of these plugins to enhance your app’s functionality and user experience.
The Magic of Third-Party Plugins
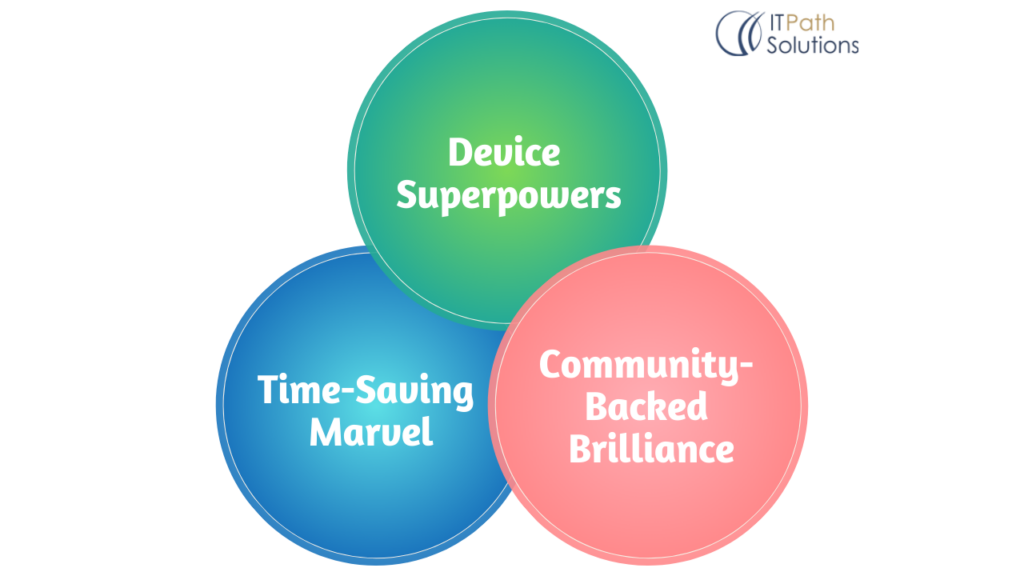
Fig 1. Why use third-party plugins?
Before we delve into the nuts and bolts of integration, let’s take a moment to appreciate why third-party plugins are such a game-changer in the world of Flutter app development:
- Time-Saving Marvel: Plugins are your shortcut to ready-made solutions. They spare you the effort of reinventing the wheel and allow you to add advanced features with minimal code.
To elaborate, consider a scenario where you need to add a barcode scanning feature to your app. Without a barcode scanning plugin, you’d have to write extensive code to interact with the device’s camera, process images, and recognize barcodes. With the right plugin, such as the popular ‘barcode_scan,’ you can accomplish this task with a few lines of code and minimal effort. Time-saving at its finest!
- Device Superpowers: Flutter’s robust ecosystem of plugins offers access to native device features. From GPS to the camera and sensors, you can tap into the full spectrum of capabilities provided by the underlying platform.
Imagine you’re developing a fitness tracking app that requires access to the user’s GPS location. By integrating a location plugin like ‘location,’ you gain the power to precisely track the user’s movements without having to delve into platform-specific coding.
- Community-Backed Brilliance: Many plugins are actively maintained by the Flutter community, ensuring they stay up-to-date and free of bugs. This means you can rely on them with confidence.
It’s reassuring to know that if an issue arises with a community-backed plugin, there’s a good chance it will be addressed promptly. The collective effort of the Flutter community is a safety net that ensures you can build on a strong foundation of reliable plugins.
The Art of Plugin Selection

Fig 2. Choosing the right plugins
Picking the right plugin is like choosing the perfect tool for a job. Here’s how you can make informed decisions:
Check Compatibility: Ensure the plugin is compatible with your Flutter version. Check for the latest version and refer to the plugin’s documentation for guidance.
Maintaining compatibility with your Flutter version is vital for a smooth development process. Always check the official Flutter documentation for the recommended versions and updates.
Community and Popularity: Plugins with an active community and a high number of downloads are more likely to be well-maintained and reliable. User reviews and feedback are good indicators of a plugin’s quality.
When you’re faced with multiple plugins offering similar functionality, consider the one with the most significant community support and a higher number of downloads. These factors usually indicate reliability and active maintenance.
Read the Reviews: Be sure to browse through user reviews and feedback on the plugin’s repository. This can offer valuable insights into its performance and reliability.
Reading user reviews can reveal real-world experiences and challenges faced by other developers when using the plugin. This information can help you anticipate potential issues and make informed decisions.
The Seamless Integration Process

Fig 3. The integration process
Let’s now explore the intricate details of seamlessly integrating a third-party plugin into your Flutter app. Follow these steps to ensure a smooth and trouble-free experience:
- Add the Plugin to `pubspec.yaml`
Open your project’s `pubspec.yaml` file and add the plugin dependency under the `dependencies` section. For instance:
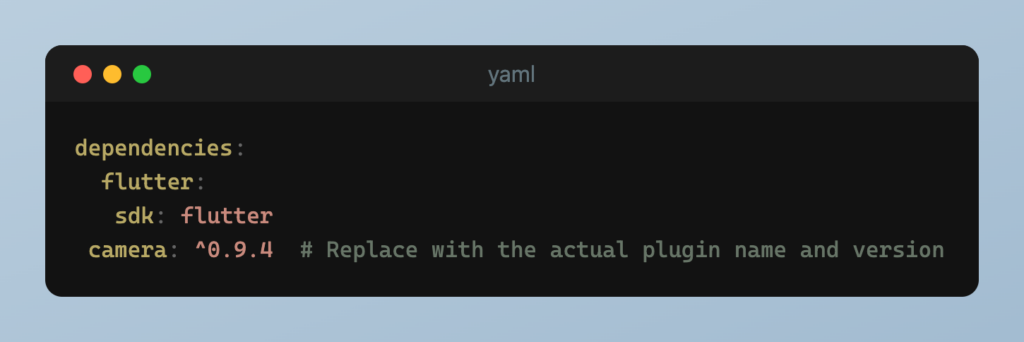
Fig 4. Add plugin in `pubspec.yaml`
In this example, we’re adding the ‘camera’ plugin to the project. The ‘pubspec.yaml’ file is where you declare all your project’s dependencies, and specifying the desired plugin and version is crucial.
- Run `flutter pub get`
After adding the plugin to your `pubspec.yaml`, run `flutter pub get` in your terminal to fetch and install the plugin. This command ensures that your app’s dependencies are up to date.
The ‘flutter pub get‘ command does the heavy lifting of fetching and installing the plugin and its dependencies, ensuring that your project is set up correctly.
- Import and Use the Plugin
In your Dart code, import the plugin, and start using it in your app. For example, if you’re integrating a camera plugin:
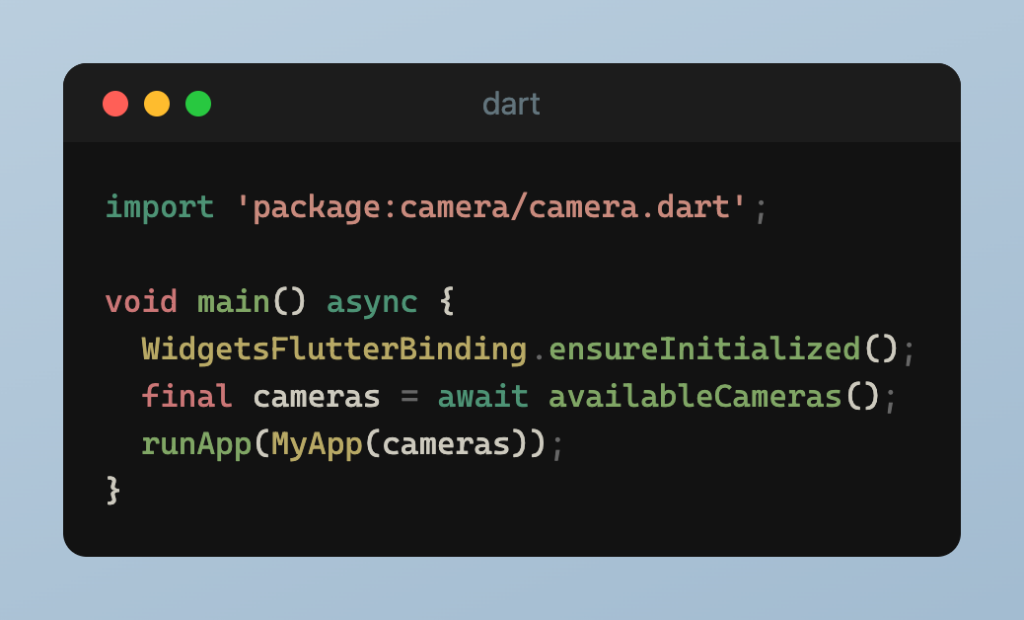
Fig 5. Import and use of the plugin
The ‘import’ statement includes the plugin in your Dart code. In this example, the ‘camera’ plugin is used to access the device’s camera. Note that we also use the ‘await’ keyword to ensure the camera data is available before proceeding.
- Configuration and Initialization
Keep in mind that many plugins require additional configuration and initialization steps. You must refer to the plugin’s documentation to understand any necessary setup.
Plugin documentation often provides instructions on setting up and initializing the plugin. Following these guidelines ensures that the plugin functions as expected within your app.
- Handle Permissions with Grace
Certain plugins, such as camera or location services, may require permissions. To ensure a smooth and secure user experience, implement the correct permission requests and handling mechanisms.
When working with plugins that require permissions, it’s essential to handle permission requests and user responses gracefully. Make sure to check if permissions are granted and request them if not.
- Embrace Error Handling
Errors and exceptions can happen. Always handle them gracefully to avoid app crashes. Robust error handling will improve your app’s reliability.
Developing a resilient error-handling strategy ensures that your app can gracefully handle unexpected situations. This is a crucial aspect of creating a polished user experience.
- Keep Up with Updates
Regularly check for updates to the plugin, and ensure your dependencies are up to date. This is crucial to benefit from bug fixes and new features.
Plugins, like any other software, receive updates to address issues, improve performance, and introduce new features. Keeping your dependencies up to date is a crucial part of maintaining a healthy project.
- Rigorous Testing
Last but not least, test the plugin integration thoroughly. Test on various devices and under different conditions to ensure it works flawlessly.
Rigorous testing is the key to delivering a bug-free experience to your users. Test the plugin’s functionality thoroughly to identify and address any potential issues.
Exploring Plugin Development
If you’re an aspiring Flutter developer eager to expand the horizons of your app’s capabilities, crafting your own Flutter plugins can be a rewarding endeavor. It’s a fantastic way to extend Flutter’s potential while contributing to the vibrant developer community. For an in-depth roadmap on how to embark on the journey of plugin development, please refer to “A Comprehensive Guide to Developing and Distributing Flutter Plugins” on pub.dev.
Are you a Flutter enthusiast with an itch for innovation? Learn how to create your own Flutter plugin and share it on pub.dev, the official hub for Flutter and Dart packages. Thanks to Flutter’s unparalleled flexibility, you can seamlessly integrate native code, third-party libraries, or custom functionalities into your apps. This easy-to-follow guide will walk you through every step of building and publishing your very own Flutter plugin, unlocking exciting possibilities for your projects and leaving your mark on the ever-evolving Flutter ecosystem.
In this comprehensive guide, you’ll explore the entire journey, from the initial setup of your plugin to the final act of sharing it with the Flutter community on pub.dev.
Conclusion
In conclusion, mastering the integration of third-party plugins in your Flutter app can significantly enhance its functionality and user experience. These plugins serve as invaluable tools that save you time, provide access to native device features, and offer community-backed reliability.
When selecting a plugin, consider compatibility, community and popularity, and user reviews to make informed decisions. The integration process involves adding the plugin to your `pubspec.yaml`, running `flutter pub get`, importing and using the plugin in your Dart code, configuring and initializing as required, handling permissions and errors gracefully, keeping up with updates, and rigorous testing.
By following these steps and best practices, you can ensure that your Flutter app benefits from the full potential of third-party plugins. Additionally, if you’re interested in contributing to the Flutter community, you can explore plugin development using the comprehensive guide provided in the article mentioned earlier.
Feel free to harness the power of third-party plugins to take your Flutter app development to new heights, and create outstanding, feature-rich applications that delight your users.
Happy plugin integration in Flutter!